How to integrate Silktide with Sitefinity
This guide details what the Silktide CMS plugin for Sitefinity does, how to download and install/configure it, and how it is used in practice. You will need Administrator access and be able to upload a plugin to your Sitefinity installation.
This plugin enables two main features:
- Easily switch from the Silktide application to the appropriate page in your Sitefinity installation to make changes.
- New or changed pages in your Sitefinity installation will be automatically checked in Silktide when published.
Installing the plugin
File configuration
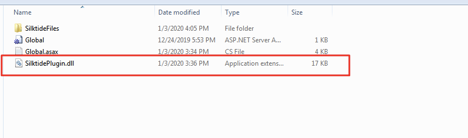
Move “SilktidePlugin.dll” to your project bin folder.
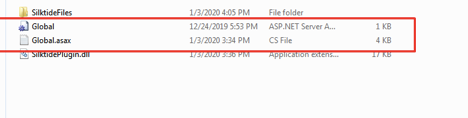
Move “Global.asax” to your project root folder.
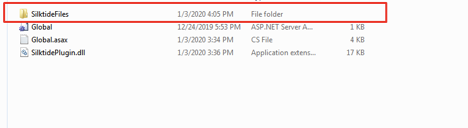
Move “SilktideFiles” folder to your project root folder.
Ensure the URL scheme is correct
If you use a different URL scheme for the admin backend to the default. You will need to modify “SilktideFiles/JSON/silktideConfig.json” to ensure “backofficeurl” reflects your new URL scheme. For most installations, this should not need to be modified.
Note that “[pageRelativePath]” must remain within this as it is used for dynamically generating URLs.
Adding Silktide configuration page
Silktide’s Sitefinity plugin requires an administrative page that allows the configuration of our API.
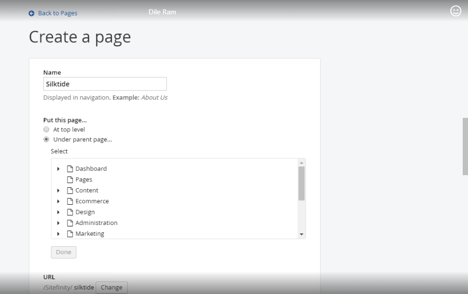
1. Create a new page in Sitefinity
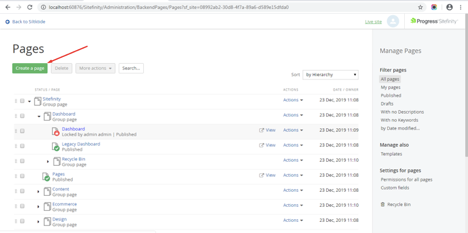
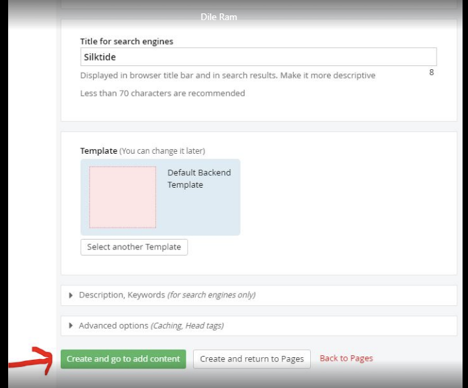
2. Add the page name and click “Create and go to add content” button.
3. Drag and drop “SilktideAPI” from sidebar widgets.
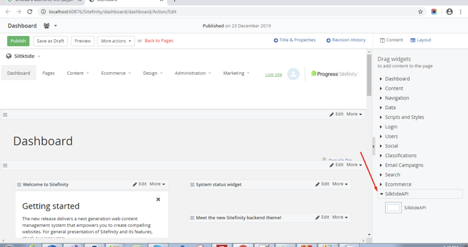

4. Publish the page to finish.
Configuring the Plugin
Silktide requires an API key for authentication and a meta tag for the editor URL put into place for the webhook to be sent out, and the page inspector to work.
Obtaining your API key
Silktide provides an API key to authenticate calls to the API from Sitefinity. To obtain a key:
- Login to Silktide as a user permissions to manage the website you wish to link to (for example, an account owner).
- View the website.
- Click Settings > CMS.
Depending on the permission of your user, you will then be offered one or two API keys that you can copy:

- The Website API key grants access to integrate with the current website only.
- The Account API key grants access to integrate with all websites on the current account. You will only see this if you are the account owner.
API key configuration in Sitefinity
Head into Sitefinity backend and select “Silktide” from the menu. Simply place your API key in here provided by Silktide and hit “click here for verification”. If this returns successfully. Press “Save” for the changes to take effect.

Setting up Silktide CMS meta tag
In the .cshtml page template specify the following line in the header:
<meta name="silktide-cms" content="@SilktidePlugin.Services.SilktideBackofficeUrl.GetEncUrl()">This must be on every page you wish for the plugin to work on. Usually, this is done in the master template that other pages inherit.
Retesting your site
Once the Plugin has been configured in Sitefinity, you will then need to retest your site so Silktide will read the relevant data.
Login to Silktide and select your report – just click Retest in the top right and wait for the site to retest.
Navigating from Silktide to Sitefinity
Once the report has finished running, you can then view your results. If everything has been configured correctly, when viewing the Inspector you should see a pencil icon appear in the top right next to the Page and HTML buttons.
Clicking on the pencil icon will instantly take you to your Sitefinity installation with the appropriate page loaded.
Confirmation of working webhook
If you publish a page in your CMS and then immediately switch into Silktide, you should see a blue progress banner appear at the top of the screen, while the updated page is tested.
If you’re experiencing difficulties with this integration, please reach out to us via the live chat built into your Silktide account.
See more
- How to find your Silktide API keys
- How to integrate Silktide with WordPress
- How to integrate Silktide with Drupal
- How to integrate Silktide with Craft CMS 3
- How to integrate Silktide with Drupal 7
- How to integrate Silktide with Umbraco
- How to integrate Silktide with Terminalfour
- Silktide API for CMS integration